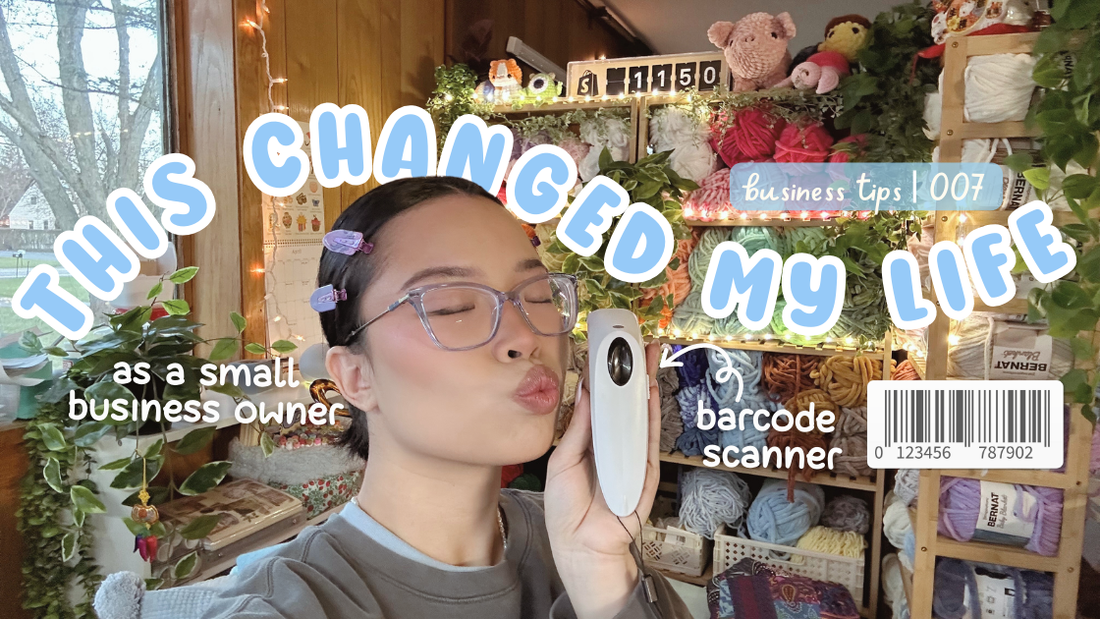
How I Use Shopify POS & Barcode System to Manage Inventory at Pop-Up Markets
If you’re a small business owner, crafter, or handmade product seller getting ready for a pop-up market or craft fair, having a reliable system for inventory and checkout can save you time, stress, and even money. In this post, I’ll walk you through how I use Shopify’s POS system and barcode labels to keep my inventory in check and make checkout super smooth at live events.
Prefer to watch instead of read? 👉 Check out my YouTube video here!

Why I Use Shopify POS + Barcodes
When I first started selling at craft fairs and pop-up events, I used a notebook and a calculator for sales—and honestly, it was chaotic! Tracking sales manually made it hard to know what was selling well, what needed restocking, and I often made mistakes.
Now, I use Shopify’s built-in tools to:
-
Keep real-time track of inventory
-
Speed up the checkout process
-
Get detailed sales reports after the event
-
Look professional and stay organized
Step 1: Set Up Your Products in Shopify
Before anything else, you’ll want to make sure every product is listed in your Shopify dashboard:
-
Go to Products > Add product
-
Enter:
-
Product title
-
Description
-
Price
-
Photos (optional)
-
Unique SKU (stock keeping unit) for each item or variant
-
Pro Tip: Use simple, memorable SKUs like PL-FROG for frog plushies or BK-STRAW for strawberry bookmarks.
Step 2: Generate Barcodes
Once all products are listed, I use Shopify’s Retail Barcode Labels app:
-
Go to Apps > Shopify App Store and install "Retail Barcode Labels"
-
Select the products you want to print barcodes for
-
Choose your label size (I use [your label size])
-
Click "Print Labels" and stick them on your products or tags
This makes checkout lightning fast because I can just scan the barcode instead of searching manually.
Step 3: Get Your POS System Ready
Here’s my go-to gear for markets:
-
Shopify POS app (on iPad or iPhone)
-
Barcode scanner (optional but helpful for at home inventory check/ update)
-
Tap & chip card reader
-
Portable charger
You can totally start small with just your phone and the app!
Step 4: Checkout with Shopify POS
At the event, I open the Shopify POS app, and it syncs with my online store inventory. Here's how it works:
-
Scan the product barcode
-
Add it to the cart
-
Accept payment: cash, card, or tap
-
Offer printed or digital receipt
Even during busy times, checkout takes less than 30 seconds. Customers love how quick and professional it feels!

Step 5: Track Sales and Inventory After the Event
Once the event is over, I check Shopify’s built-in analytics to review:
-
Total sales
-
Best-sellers
-
Remaining stock
-
Average order value
This info helps me decide what to restock for the next event and gives me insight into what my customers really love.
Bonus: Download My Free Price Card Template
Want to elevate your pricing tag for your products? Download my FREE Price Card Template
Final Thoughts
Switching to Shopify POS and barcodes completely changed how I run my booth. It helps me stay calm, organized, and focused on what matters: connecting with customers and sharing my handmade creations.
Let me know in the comments if you have questions or want to see my full booth setup next!
Stay cozy and crafty! 🌿


